Classic Dough Foundations
There’s a reason the scent of rising dough can stop conversations mid-sentence, it’s more than just bread; it’s memory in motion. These timeless Old-Fashioned Recipes were passed down through generations, made with love, patience, and simple pantry staples. In this ultimate guide to Old-Fashioned Recipes, you’ll rediscover the soft dinner rolls, fluffy doughnuts, and fail-proof pizza crusts our grandparents relied on, crafted by hand, without fancy gadgets or shortcuts. Whether you’re baking for a holiday table or just craving something cozy and nostalgic, these vintage favorites bring warmth, comfort, and unbeatable flavor to every bite.
Ready to bring that old-fashioned goodness back into your kitchen? Let’s roll up our sleeves and start kneading.
Table of Contents
Why Old-Fashioned Dough Still Works
Old-Fashioned Recipes Nothing beats the aroma of yeasted dough proofing on a warm windowsill. While modern bakers lean on stand mixers and rapid-rise yeast, the slow, deliberate methods in old-fashioned recipes coax out deeper flavor and a lighter crumb. Traditional dough develops gluten naturally through hand-kneading, allowing starches to hydrate fully and sugars to break down into rich, malty notes. As a result, each bite tastes nostalgic yet surprisingly complex, proof that patience really is the secret ingredient.
Essential Pantry Staples for Vintage Baking
A well-stocked “heritage pantry” is simple and affordable:
| Staple | Purpose | Pro Tip |
| Unbleached all-purpose flour | Balanced protein for both breads and sweets | Sift once to mimic the softer flour Grandma used. |
| Active dry yeast | Classic leavening with robust flavor | Bloom in 100 °F water; any hotter kills the yeast. |
| Real butter & whole milk | Tender crumb and rich taste | Let both reach room temperature for even mixing. |
| Pure cane sugar & sea salt | Feed yeast and enhance structure | Fine-grain varieties dissolve faster in dough. |
| Neutral oil (or melted lard) | Adds elasticity and prevents sticking | Brush bowls and proofing tops to stop dry crusts. |
Stock these basics, and you can whip up everything from pillowy dinner rolls to fluffy doughnuts without emergency grocery runs.
Grandma’s Proof-and-Rise Technique Explained
- Activate yeast gently. Combine warm water, a pinch of sugar, and yeast; wait until frothy, 5 to 8 minutes.
- First rise for flavor. After kneading, place dough in a lightly oiled bowl, cover with a damp cloth, and let it double in size in a draft-free spot (about 60 minutes).
- Punch down softly. Release excess gas without tearing the gluten web; this step refines texture.
- Shape and second rise. Form rolls, doughnuts, or crusts, then allow 20–30 minutes for a final puff. This ensures oven-spring instead of cracks.
- Bake or fry hot and fast. High initial heat sets the structure, trapping steam for that coveted airy bite.
Master these five steps and you’ll have an evergreen skill set that powers every vintage dough recipe on your baking list.
Fluffy Doughnuts & Sweet Treats
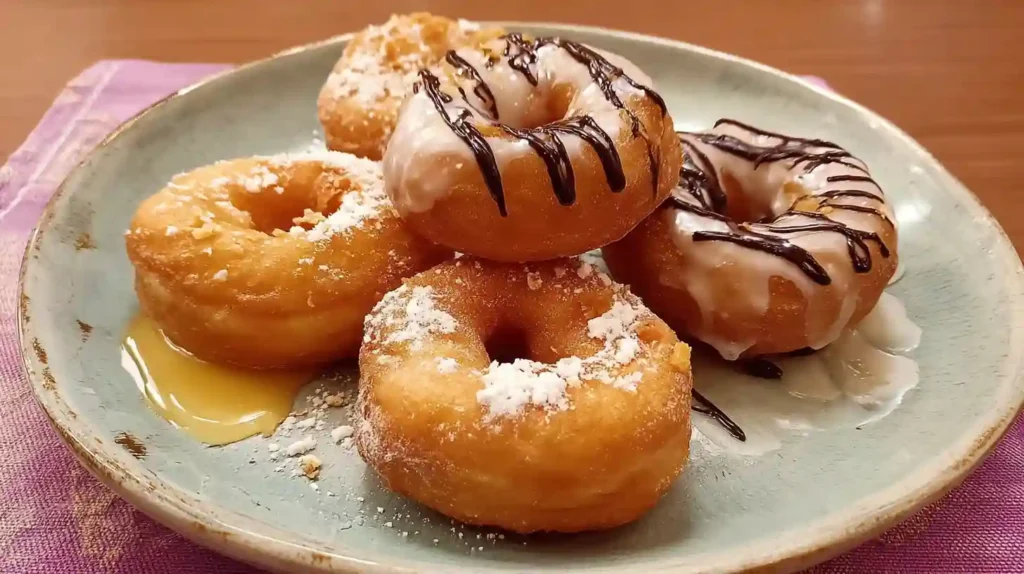
Golden rings with a feather-light bite start with a soft, enriched dough. Mix warm milk, melted butter, sugar, and yeast until foamy, then whisk in an egg for richness. Fold in flour and salt, knead until satin-smooth, and let the dough double. Roll to ½-inch thickness, cut with a floured cutter, and proof 20 minutes on parchment. Fry at 350 °F just until each side turns caramel-brown, about 60 seconds. Drain on a rack, dust with vanilla-bean sugar, and enjoy warm while the interior is still cloud-soft.
Soft Dinner Rolls
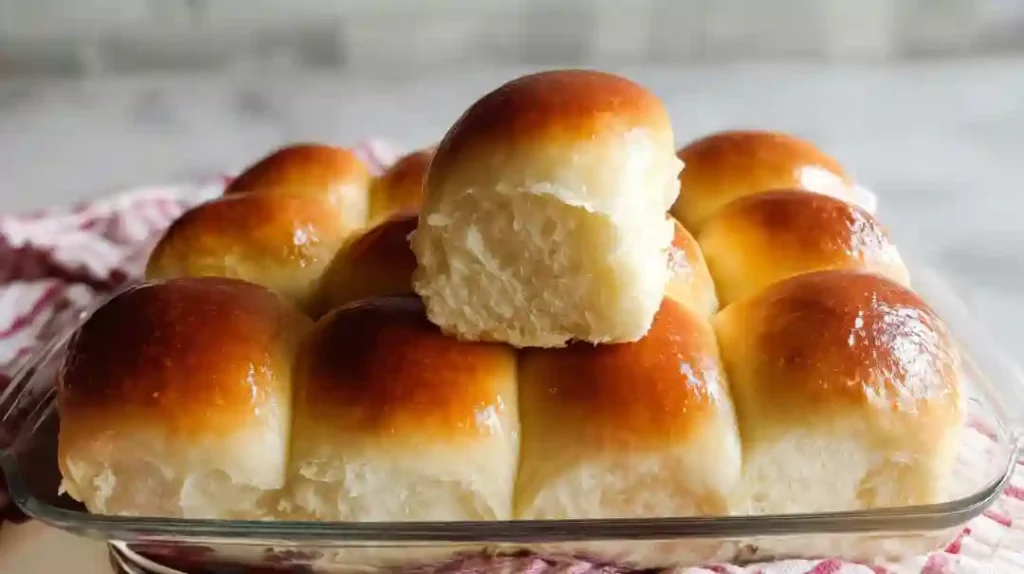
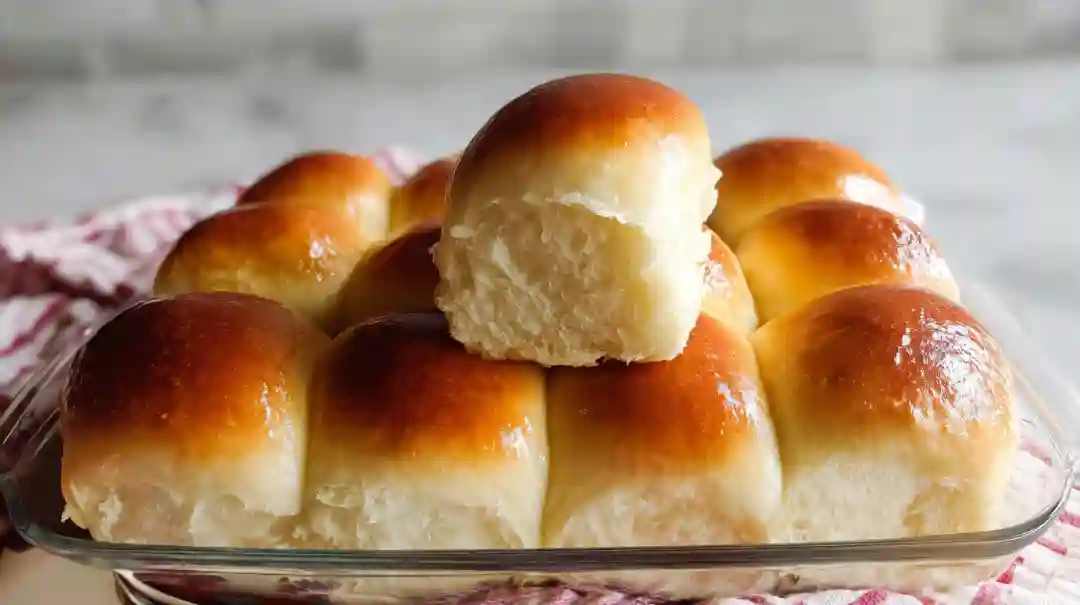
These rolls are soft, golden, and perfectly fluffy, just like Grandma used to make. Start with warm milk, melted butter, sugar, and active dry yeast. Once foamy, stir in eggs and sifted flour to form a soft dough. Knead until elastic and smooth, then let rise for 1 hour. Shape into 12 small balls, place them in a buttered baking dish, and let rise again until puffy. Bake at 375 °F for 18–22 minutes or until golden. Brush the tops with more butter for a glossy, tender finish. Serve warm with soup, roast dinners, or a simple pat of butter.
Old-Fashioned Pizza Dough
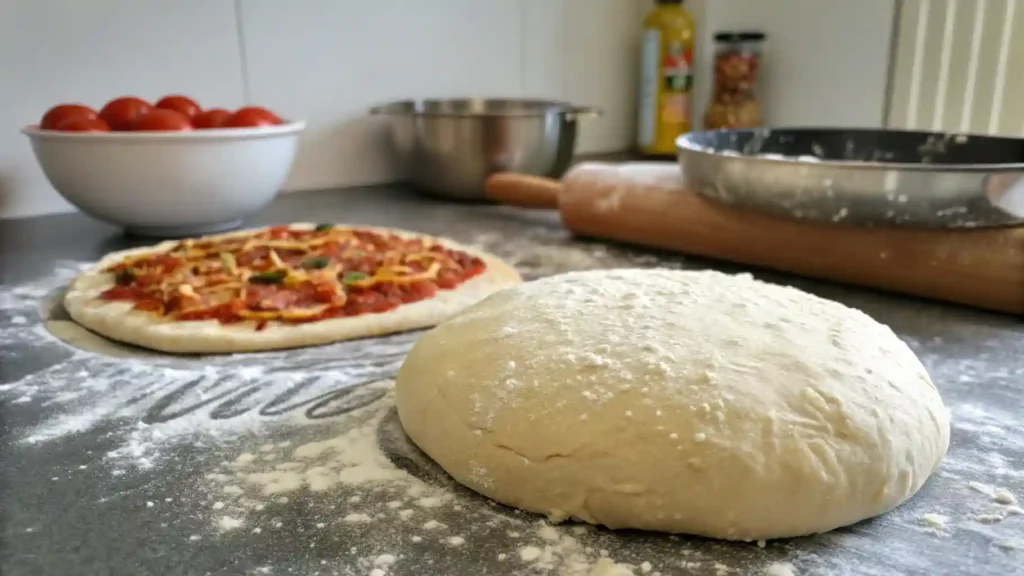
This classic Pizza dough is soft, chewy, and rich with that unmistakable homemade flavor, no store-bought crust comes close. Combine warm water, sugar, and yeast, then stir in olive oil, flour, and a pinch of salt. Knead by hand for 8–10 minutes until smooth. Let it rise in a warm spot for just 30 minutes. Roll out, top with crushed tomatoes, fresh mozzarella, and herbs, then bake on a preheated stone or cast iron pan for the perfect golden bottom. This dough is so versatile you can use it for calzones, focaccia, or even flatbreads.
Vintage Baking Tips, Storage & FAQs
How to Substitute Modern Yeast for Cake Yeast
Most old-fashioned recipes call for fresh cake yeast, which is harder to find today. To adapt, use active dry yeast or instant yeast with these conversions:
- 1 cake (0.6 oz) = 2¼ tsp active dry yeast = 2 tsp instant yeast
- Bloom active dry yeast in warm water with sugar for 5–10 minutes.
- Instant yeast can be mixed directly into dry ingredients.
Cake yeast gave a slightly tangy flavor and softer rise—mimic it by adding a spoonful of yogurt or milk powder to your dough.
Best Way to Freeze Dough Without Flavor Loss
Want to prep ahead? Here’s how to freeze dough like a pro:
- Let dough go through its first rise only.
- Shape into rolls, balls, or crusts.
- Place on a parchment-lined tray, freeze until solid, then transfer to a freezer bag.
- When ready to bake, thaw in the fridge overnight, bring to room temp, and let rise again before baking.
Avoid freezing dough with too much egg or dairy—it can become rubbery after thawing.
Troubleshooting Dense or Gummy Crumbs
If your rolls or doughnuts turn out heavy or undercooked inside, try this:
- Use bread flour for better gluten structure.
- Don’t under-knead, you need elasticity for rise.
- Proof in a warm, not hot, space to avoid killing yeast.
- Bake at the correct temperature, too low and steam escapes before setting the crumb.
Bonus tip: tap the bottom of baked bread. A hollow sound = fully baked.
Conclusion
There’s something undeniably comforting about pulling a tray of warm, golden old fashioned dinner rolls out of the oven. They remind us of family dinners, holiday tables, and the joy of baking with simple ingredients that never go out of style. Whether you’re serving them with a bowl of soup, a holiday roast, or just enjoying one with butter and jam, these soft rolls are proof that the best things in life rise slowly.
Bringing a vintage recipe back to life in your own kitchen doesn’t require a bread machine or a bakery degree, just a bit of time, a few pantry staples, and a love for that old-school flavor.
Old-Fashioned Soft Dinner Rolls
Ingredients
Method
- In a large mixing bowl, combine warm milk, yeast, and sugar. Let sit for 5–10 minutes until frothy.
- Add melted butter and egg to the yeast mixture, stirring gently to combine.
- Gradually mix in flour and salt until a soft dough forms.
- Knead the dough on a floured surface for 8–10 minutes until smooth and elastic.
- Place dough in a greased bowl, cover, and let rise in a warm place for 60–75 minutes or until doubled in size.
- Punch down dough, divide into 12 equal pieces, and shape into balls. Arrange on a greased baking sheet.
- Cover rolls loosely with a clean towel and let rise again for 20–30 minutes.
- Preheat oven to 375°F (190°C). Bake rolls for 18–20 minutes or until golden brown.
- Brush warm rolls with melted butter before serving.
Notes
- Calories: 220
- Fat: 7g
- Saturated Fat: 4g
- Protein: 5g
- Carbohydrates: 35g
- Fiber: 1g
- Sugar: 6g
- Cholesterol: 25mg
- Sodium: 210mg
Comments are closed.